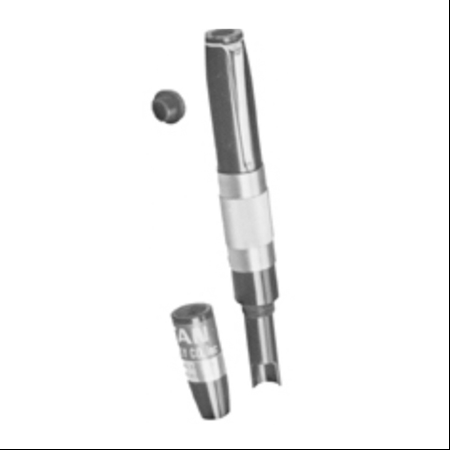
Optical Drill Geometry Analyzer
Optical Drill Geometry Analyzer
$355.00 – $385.00
PDF Specifications: Optical Drill Geometry Analyzer
Optical Drill Geometry Analyzer
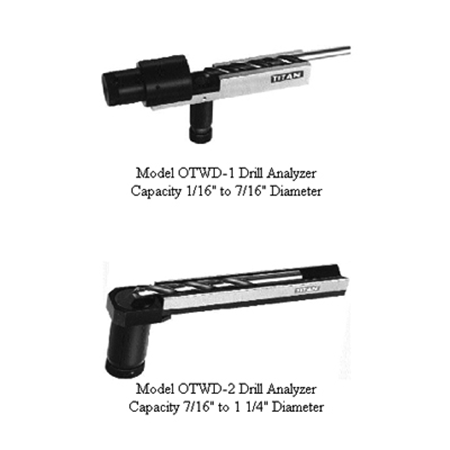
The Optical Drill Geometry Analyzer is an inexpensive optical instrument available for checking of proper twist drill re-sharpening. Whether this is done free hand on a fixture or on a more expensive drill sharpening machine, industry lacks a quick and easy way of checking the results. What happens so often is that an improperly sharpened drill is used which results in incorrect hole diameter, poor drill control and excessive breakage.
This comes about because the twist drill is a complex cutting tool designed to concurrently perform several functions. They are to penetrate directly into solid material, eject the chips outside the cutting area, maintain the straight direction of the advance movement of the drill, while controlling the hole diameter. The geometry necessary to perform these multiple of functions is designed into the basic new twist drill, but often lost due to improper re-sharpening.
The optical drill analyzer is an inexpensive, simple, portable tool designed to check and maintain the four basic points of drill geometry. It is a necessary tool in every machine shop, tool room drill and cutter grinding department as well as tool cribs for checking the drills on hand.
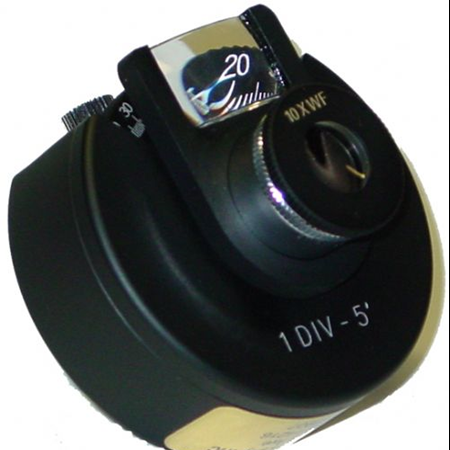
The 5X magnification of the two basic optical units with their built-in scales helps you to insure that all angles are properly ground, web thickness is correct, and the point is properly centered.
The unit is simple to use. All that is necessary is to lay the twist drill into the basic V Block which is part of the unit. This will center it in relation to the built-in scales of the magnifiers. You can then proceed to check the four principal points necessary in proper re-sharpening.
The Titan Geometric Drill Analyzer will give you a positive check for most of the critical angles and relationships commonly encountered in the re-sharpening of Twist Drills in the shop and tool room.
The Four Principal Elements of Twist Drill Geometry
The proper centering of the chisel edge of the web in relation to the outside diameters and flutes: To check, lay the drill in a V Block and move it forward until the point is flush against the reticle protective glass on magnifier one. Look through the magnifier and bring the chisel edge against the Vertical Center Cross Hair Line, then rotate the drill 180 Degree in the V Block and check again whether it lines up on the same line. This feature is built into magnifier two on the larger Model OTWD-2, therefore only one magnifier is necessary for this model. In Model OTWD-1 due to the thin-fine chisel edge on the smaller drills a separate magnifier has been found necessary.
Measuring the web thickness and concentricity of the twist drill: Located on either side of the center line of the reticle are two vertical lines. The one on the right being the closer to the center line than the one on the left. This line is .00157″ (.04mm) to the right for a total web thickness of .00314″, usually used for drills below 1/4″ in diameter. The line to the left is .00315″ (.08mm) for a total web thickness of .00628″, usually used for drills above 1/4″ in diameter. The procedure used for checking the web thickness is the same as in point one above by rotating 180 Degrees. Web thickness becomes especially important when the drill becomes shorter as the web increases in thickness towards the shaft of the drill. It is sometimes desirable to thin down the web. This feature is built into magnifier two on the larger Model OTWD-2, therefore only one magnifier is necessary.
Measuring the point angle and point: The point angles are shown in magnifier two. You bring the drill back slightly in the V Block until it is located over this magnifier and view. Generally, the harder the material the greater must be the point angle. This magnifier shows the three most common drill angles with tolerance lines of 3 Degrees. These angles are 118 Degree, for general purpose high strength steel 118 Degrees to 135 Degrees, in which case you interpolate between the 118 Degree and 135 Degree mark. The next angle shown is 140 Degrees, most commonly used for aluminum, however interpolation will show you the in between of 90 Degree and 140 Degree, sometimes also used for similar soft alloys. The last angle shown is 80 Degrees, most commonly used for plastics, hard rubber and similar materials. This reticle also shows you whether the point is centered in relation to the point angle. In Model OTWD-2 the vertical lines as seen in this reticle are used for proper chisel edge centering.
Measuring the Lip Relief Angle: The lower part of the reticle that shows the point angle on magnifier two also shows the lip angle. The angle shown is 6 Degrees, mostly used for steels and larger drills. As a general rule, the smaller the drill diameter, the larger the lip relief angle must be. This can vary up to 24 Degrees for a number 80 drill.
For tapered drills it is suggested that they be inserted in a Drill Socket with an internal taper and an external straight shank. If this makes the drill diameter too large for the V Block, alignment procedure can be changed to suit the application.
| Weight | 1 lbs |
|---|---|
| Model | OTWD-1, OTWD-2 |
